
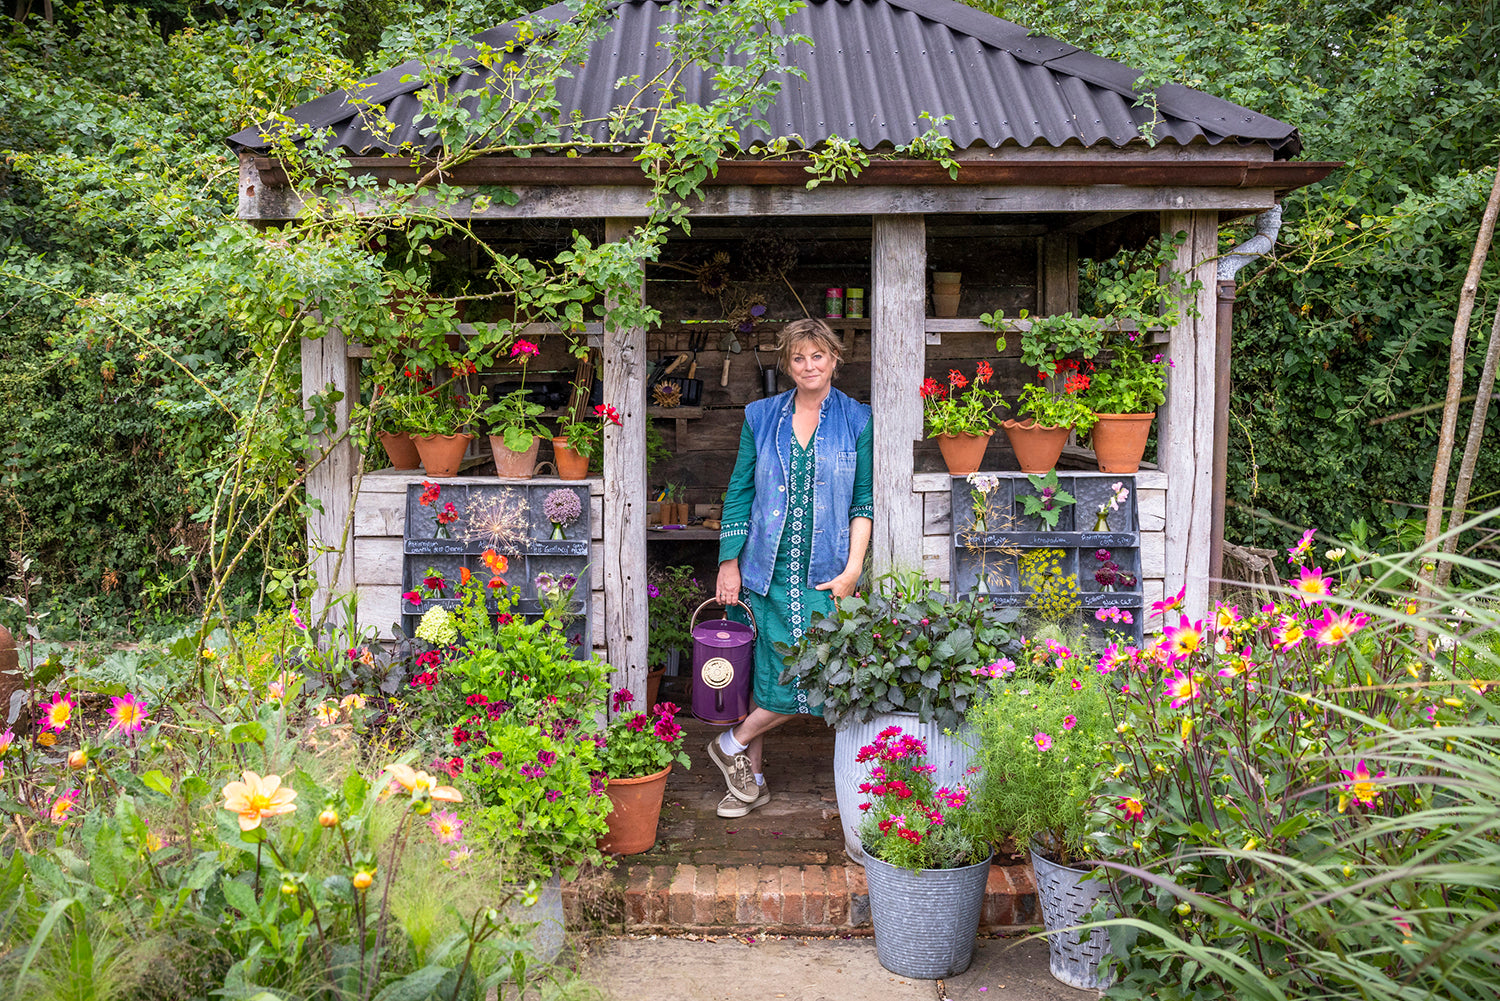
Garden Guides
All you need to make the most of your garden including detailed planting instructions, growing guides, monthly gardening jobs, advice and tips


Everything you need to help your garden flourish — from detailed planting guides and growing advice to monthly jobs and thoughtful tips. Plus, plenty of inspiring ideas to get you started this season.

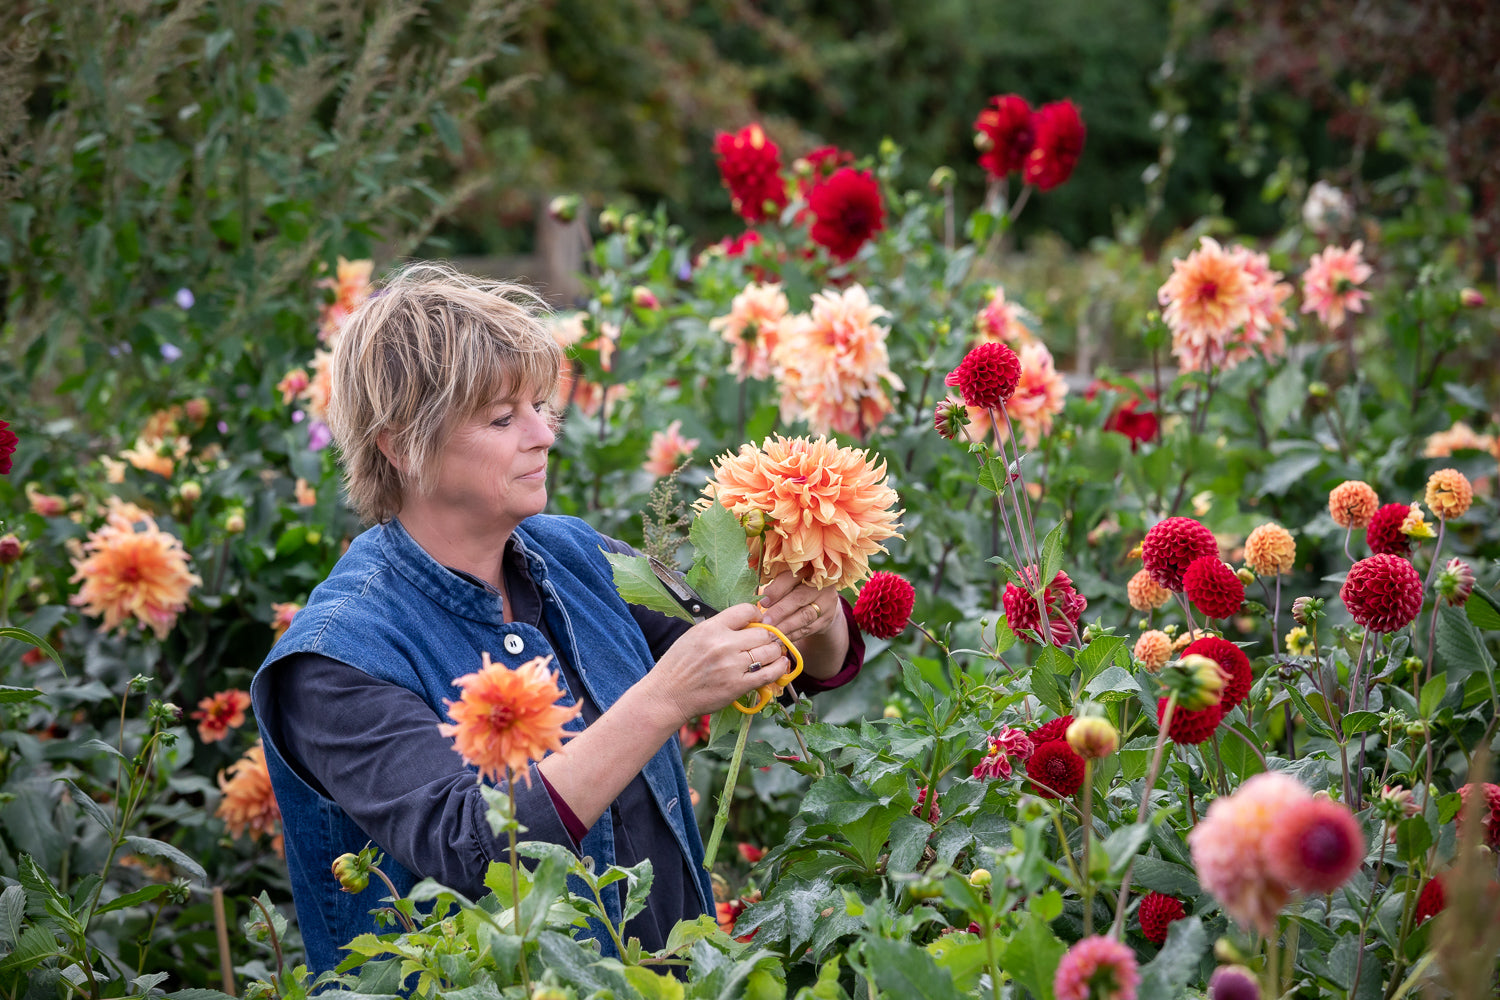
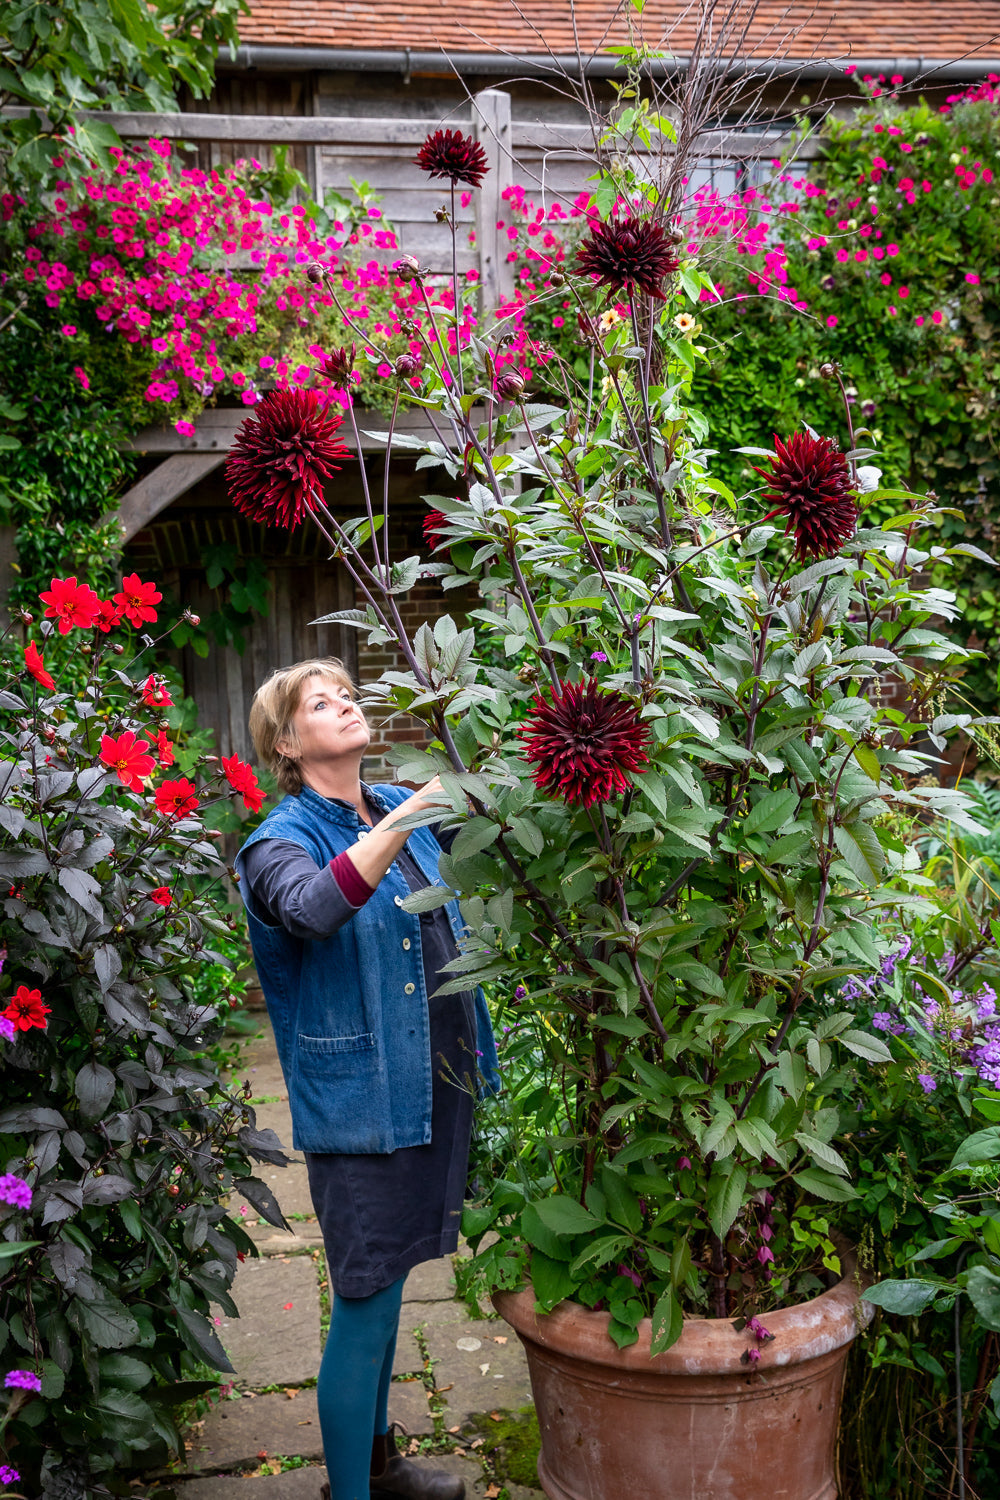
This month in your garden
Discover our essential gardening tasks for each month of the year.
From planting to pruning, we’ve got all the top jobs covered in our handy guides
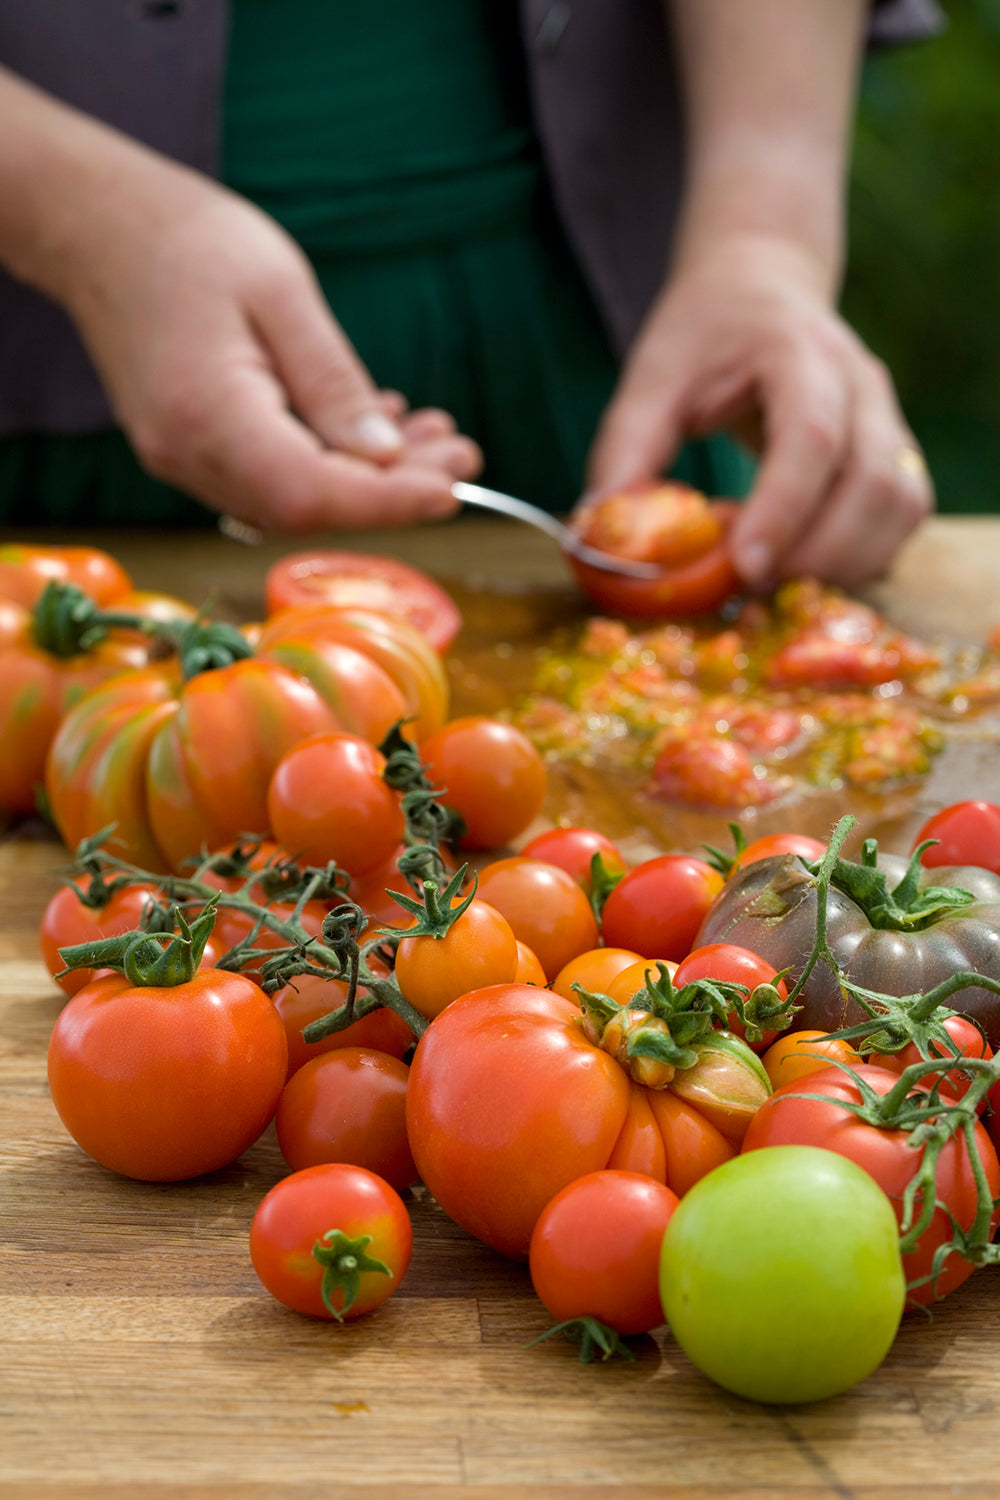
Advice and guides for this season

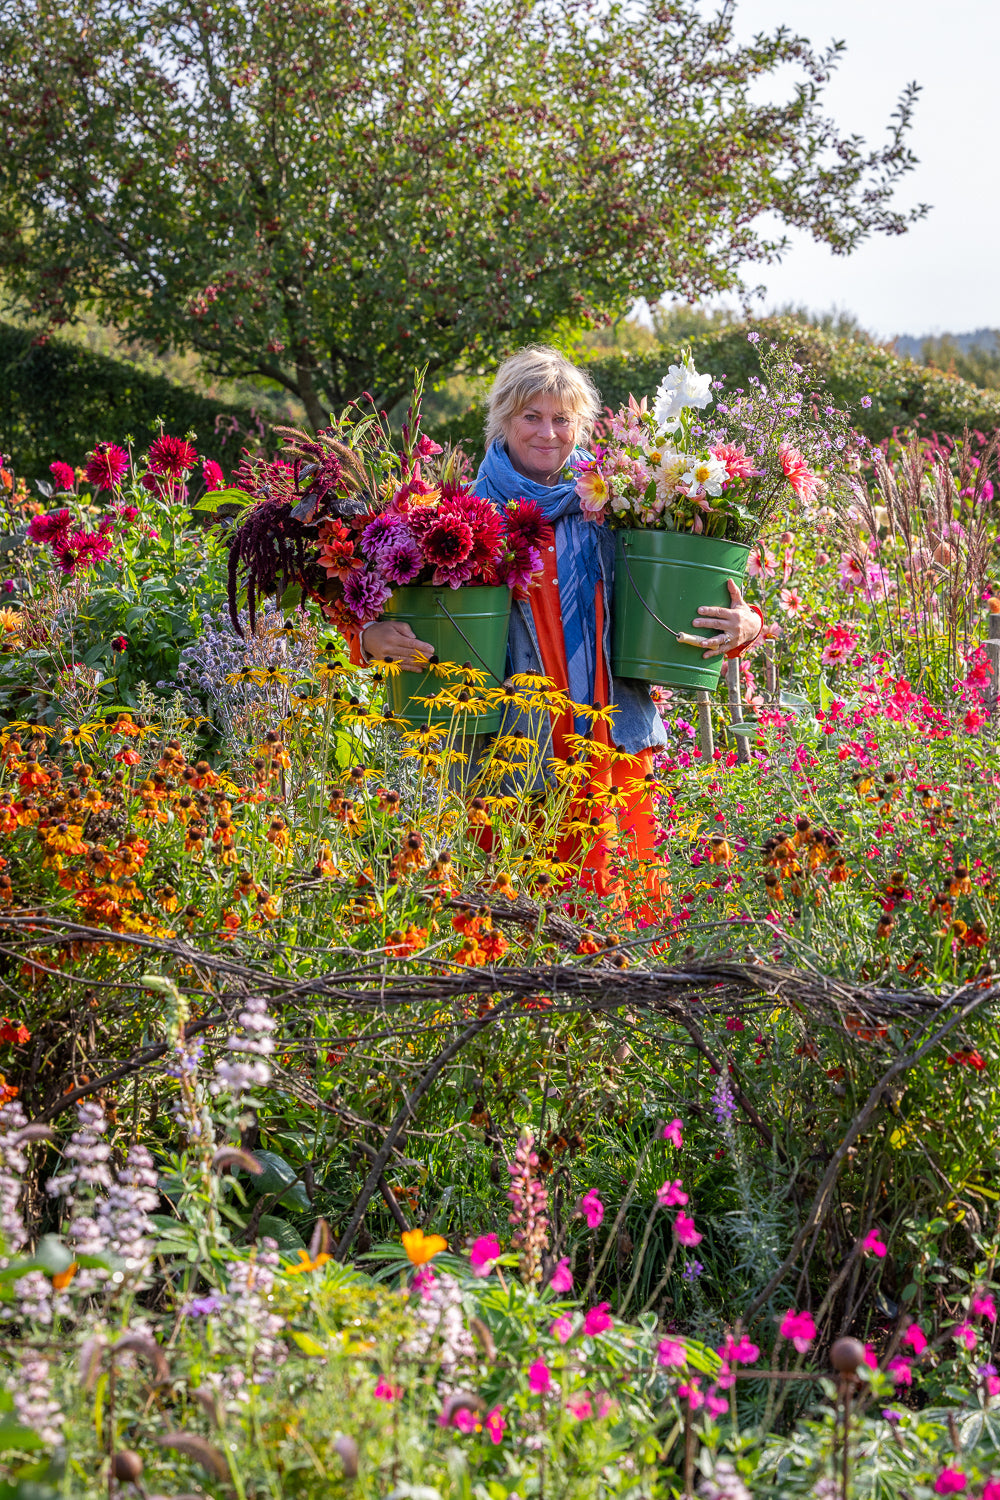
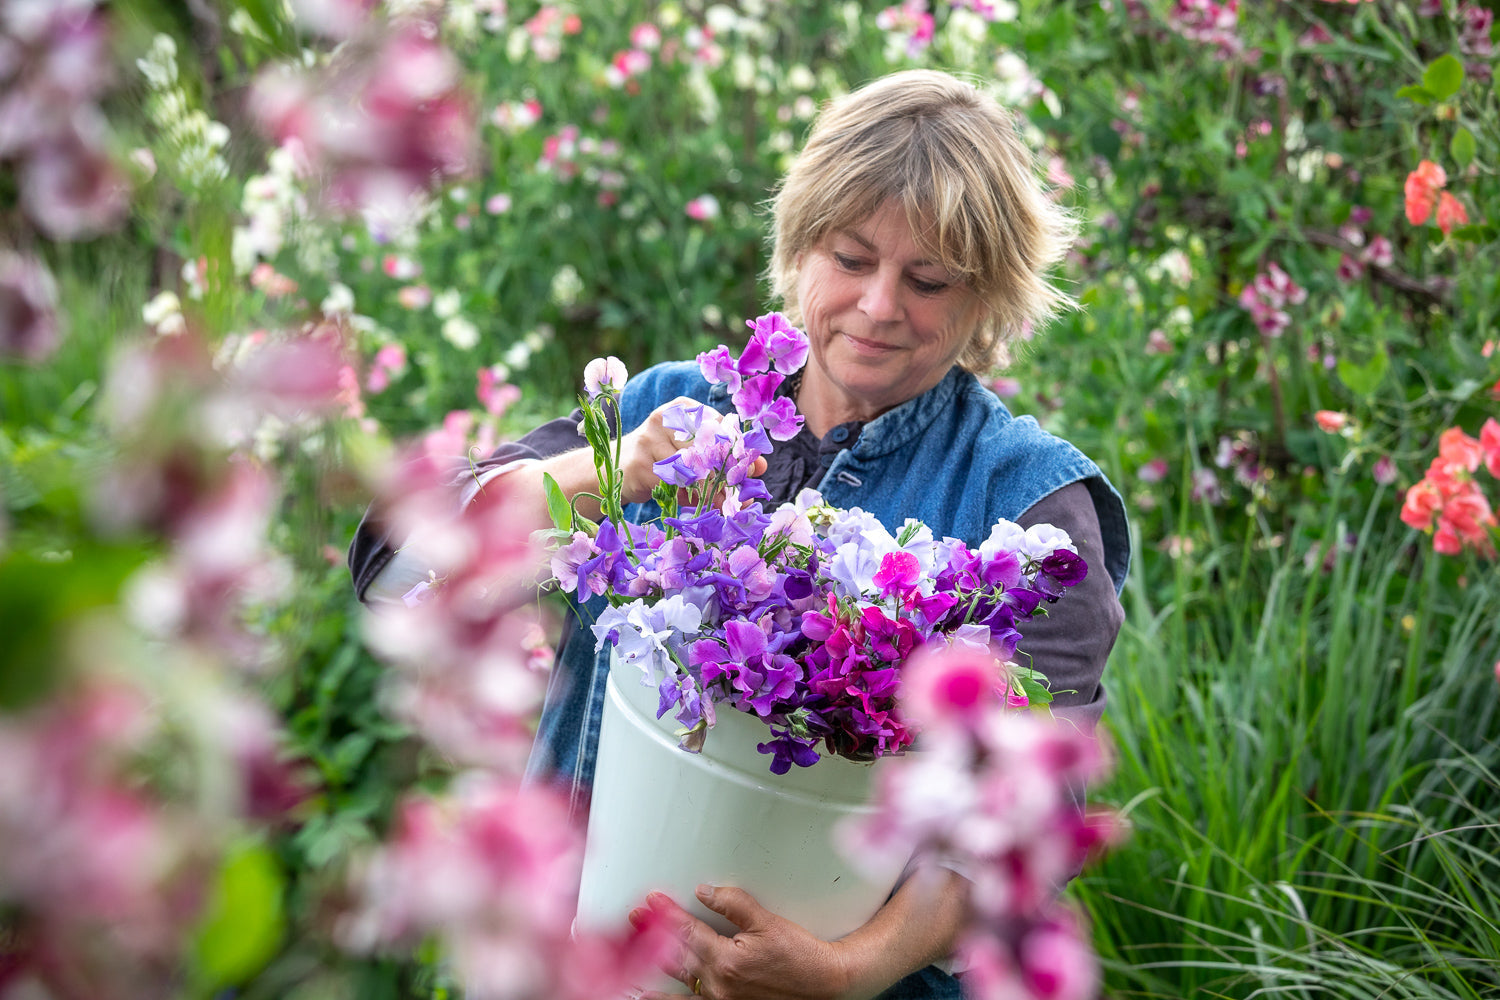


Curated
Selected by Sarah

Quality
Cared for by experts

Advice
Guiding you to success

Sustainability
Is in our nature