starting a vegetable garden from scratch
 If you've ever thought of starting a vegetable garden from scratch then start with this article. It will tell you everything you need to know about starting your first veg plot.
Is your back garden just a waste of space or do you have a few square feet with potential? Are you past the stage of needing a big lawn for football and could you reclaim some of it for vegetable beds? If none of this applies, are there some allotments nearby, or, as a starting point, do you have room for a few big pots on a terrace, balcony or window ledge?
There are few more balancing and rewarding ways to spend an hour or two a week than growing even a few of your own vegetables. Let this be the year when you start to grow your own – it will then almost certainly become a lifetime's habit.
Over the years I've been growing veg, certain plants and varieties have emerged clearly as front runners in the time/reward ratio. They are quick and easy to grow, so that with little or no gardening experience, they still do well and go on to form the basis of hundreds of free and delicious meals over the next few months with very little sweat. This exercise is not about growing every single edible plant you and your family eat.
You should continue to buy the things that are tricky, or need too much TLC (such as red peppers and aubergines), or that take up tons of room for months at a stretch and then only give you a minimal harvest (eg Brussels sprouts, maincrop potatoes and parsnips). These are the crops of the devoted, almost full-time veg grower with lots of space – not high-priority plants for those of us who prefer to dip in and out of a vegetable patch, with almost instant rewards and abundant, self-perpetuating harvests.
The key here is to choose as many cut-and-come-again plants as possible, from which you can harvest on a Monday for supper and, by the following Monday, more will have grown back for you to eat.
the grand plan
I've created a series of articles which will tell you how to create a veg patch from scratch. Even if you've never sown a packet of seed before, you'll be bringing in baskets of salad, herbs and veg from just outside your back door in a few weeks. I'll try to cover all the basics about site and soil, as well as what to grow. Below, I'll cover where to put the patch and how to clear the ground, getting rid of lawn or weeds, and then how to keep on top of the weeds once the plot is cleared.
Then I'll cover how to structure the space, giving a simple and flexible layout and help you work out whether to create raised beds or not, and what to do with the soil. I will also include companion planting (mixing two plants closely together for beneficial effect) and tips on how to make your productive patch look good. Well planned, these abundant plots are often the best-looking areas of a garden.
Next, I'll give you the list of edible plants I recommend if time, space and experience are short, and include those which, in my experience, are the best varieties of these vegetables to give you fantastic flavour. I'll then tell you, briefly and simply, how to grow them in a perhaps less-than-perfect, but time-saving way.
I'll also talk about what comes next, showing you how to use my successional sowing charts so you remember to sow little and often, and give you the list of veg, salad and herbs that will keep your garden producing right through the winter and into next spring.
where should the veg patch go?
Go out into the garden and work out the best possible place for your plot. If you have the choice, it's good to grow veg in the kind of sunny, sheltered spot where you might want to sunbathe. Most of the plants going into the patch are annuals. They are working with a short timescale and need to grow rapidly. To enable them to put on this performance, they need all the help they can get and plenty of food to fuel this growing process. That's only possible in full sun, so avoid overhanging trees and shade-throwing sheds and buildings as far as possible.
As well as sun, many plants such as tomatoes and cucumbers need shelter from the wind. They won't grow well if rocked at their roots and their leaves will blacken with wind burn. Try fencing panels, hurdles or even think of planting a permanent hedge on the windy, western side of the plot. These will give the more delicate plants a chance of survival outside. If you can't find hurdles, use a few straw bales for instant effect. These provide a cheap, but perfect temporary wind break, which can be removed once the worst of the spring winds are over in early May.
It's worth knowing that a wind break will protect an area about five times its height, so a two-metre hurdle protects for 10 metres.
clearing the ground
With an intensive patch like this, make sure you clear the soil of perennial and annual weeds before you plant.
If you want to be 100 percent organic, you'll need to clear the grass (stack the turf somewhere upside down and it will compost into beautiful top soil which you can put back into the beds in a few months), then carefully dig it over, meticulously making sure you've got rid of any roots of the nightmare invasive perennial weeds such as marestail (which looks like a one-stem fir tree), couch grass, Japanese knotweed (tall, green and pink stems looking slightly like rhubarb as it emerges), bindweed (bright green, shield-shaped leaves and white trumpet flowers) or ground elder (like a large flat-leaved parsley with mini, white, cow-parsley-like flowers).
keeping on top of the weeds
If the perennial weeds are already cleared and only annual weeds (for example, groundsel with yellow flowers, bittercress with white flowers and cress-tasting leaves, speedwell with pretty blue saucer flowers), are your problem, it's a good idea to cover the patch for a couple of weeks now in early spring. This helps warm the soil so you can plant or sow a couple of weeks earlier than if you left the patch open to the elements. Use sheets of clear plastic –it warms and dries the soil, and – transparent – encourages the germination of any dormant weed seed. When you uncover the patch to plant, these are easily cleared by hand hand or hoe and you will have a weed-seed-free bed. Fleece also works well.
The other key thing with weed control is to use a carpet of mulch to prevent any weed seed that drifts in from germinating in your soil. As you plant out your seedlings in a few weeks, lay a good 2in of mulch (cheap municipal compost available from many town councils, mushroom compost or leaf mould) in between your rows. This should make your patch relatively weed-free through the summer and so easier to maintain.
You may also like:
useful kit
|

|
|
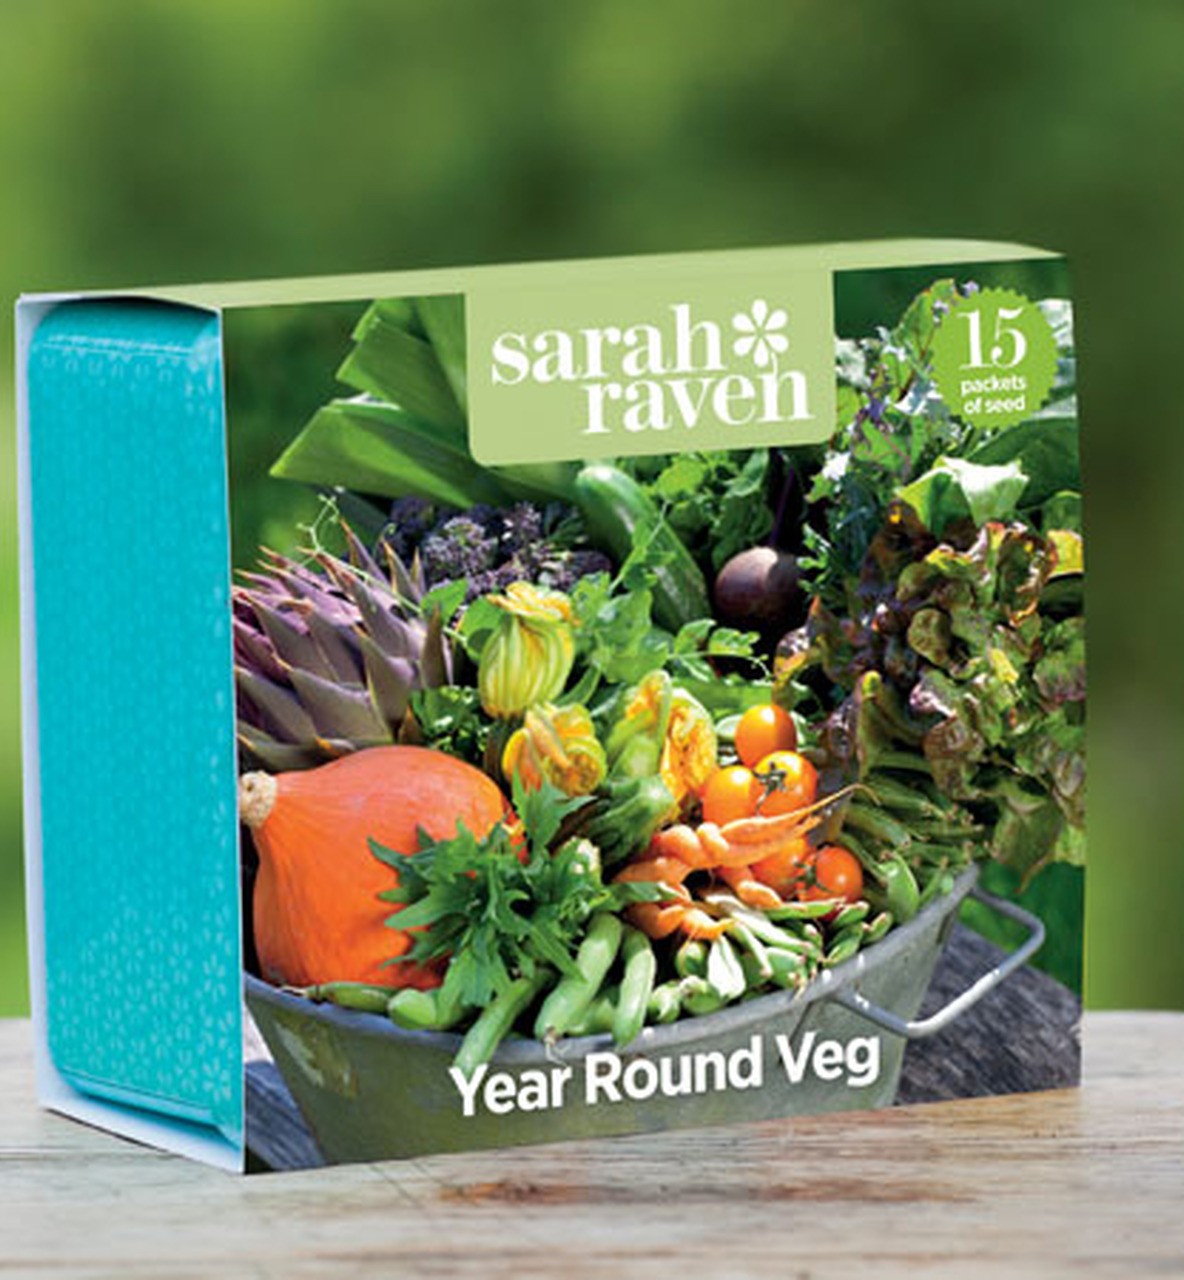
Year Round Vegetable Seed Tin Collection |
All Year Salad Seed Tin Collection |